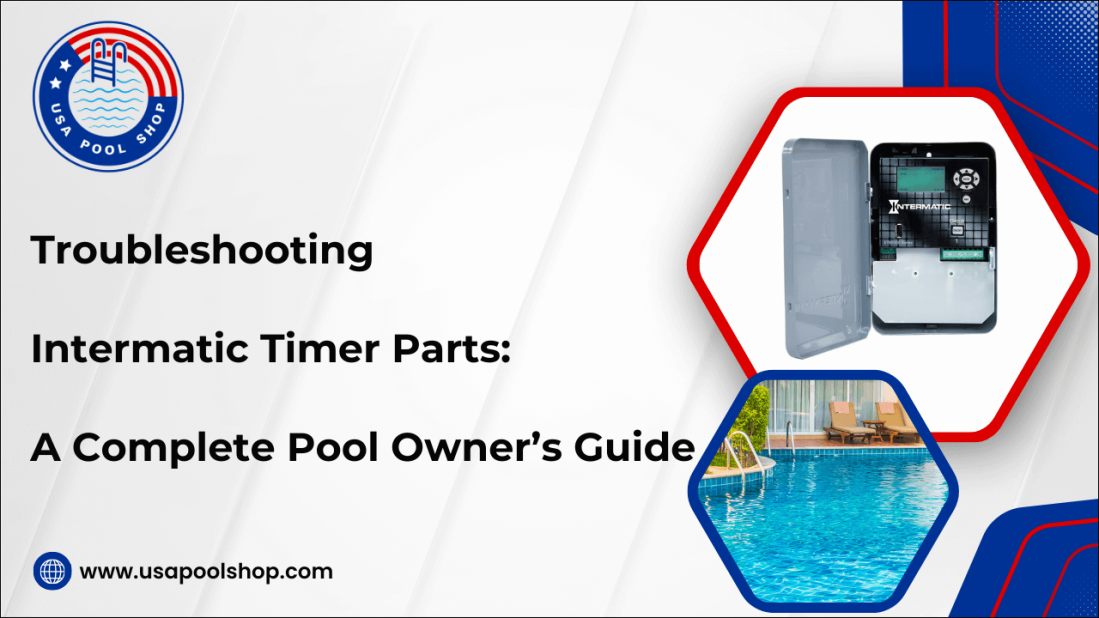
A pool timer is the key to your pool’s circulation system, ensuring water remains clean, balanced, and ready for enjoyment. Among the most trusted names in the industry is Intermatic, whose mechanical and digital pool timers power millions of pools worldwide. Intermatic timers can experience wear, connectivity issues, or misconfigurations that disrupt your regular filtration cycles. For pool owners, understanding how these timers work, recognizing early warning signs of malfunctions, and knowing when to repair or replace parts can save hours of troubleshooting, hefty service calls, and potential damage to your pump. In this comprehensive guide, we’ll explore every facet of Intermatic pool timers, from key components and common symptoms of failure to detailed repair steps and preventive maintenance tips.
| Table of Contents: Understanding Intermatic Pool Timers and Their Key Parts Common Signs of Intermatic Timer Malfunctions Step-by-Step Troubleshooting for Intermatic Timer Parts How to Repair or Replace Faulty Intermatic Timer Parts Preventive Maintenance Tips for Pool Timers When to Call a Professional for Pool Timer Troubleshooting |
Understanding Intermatic Pool Timers and Their Key Parts
Intermatic pool timers are purpose-built switches designed to automate the operation of your pool pump according to preset schedules. They come in two main varieties:
Mechanical timers: Utilize a rotating cam driven by an internal motor; users adjust on/off trippers around the clock dial.
Digital timers: Offer electronic programmability, battery-backed memory, and often multiple on/off events per day.
Key components
Timer motor: Powers the rotation (mechanical) or clockkeeping circuit (digital).
Cam and trippers: In mechanical units, metal trippers physically engage the internal switch to turn the pump on or off.
Switch contacts: Heavy-duty electrical contacts rated for motor loads.
Programmable interface: Buttons, display, or dials for setting run times.
Terminal block: Connection point for line (power), load (pump), and often auxiliary circuits (lights, heaters).
Housing and gaskets: Weather-resistant enclosure that protects internal components from moisture and debris.
By understanding these parts, you’ll be better equipped to diagnose issues, source the correct replacement components, and maintain your timer for years of trouble-free operation.
Common Signs of Intermatic Timer Malfunctions
Early detection of timer issues prevents extended pump downtime and potential pool damage.
Timer not turning on
Clock face stopped
Dial free-spinning when the motor should be engaged
No audible hum from the timer motor
Irregular cycling or stuck on/off
The pump runs continuously or won’t turn on per schedule
Erratic jumps in the timer dial or skipping trippers
Display glitches on digital models
Visible damage or corrosion
Rust around terminal screws
Water ingress stains inside the housing
Burn marks or melted insulation on wires
Electrical symptoms
The circuit breaker trips only when the timer tries to switch
Buzzing or arcing noises at switch contacts
Voltage drop at the pump (measurable with a multimeter)
Failure after a power surge
Digital timers may reset or display error codes
Mechanical cams may slip if the motor stalls
Step-by-Step Troubleshooting for Intermatic Timer Parts
Before replacing parts, perform a systematic check to isolate the root cause. Follow these steps:
Confirm power supply: Turn off the power at the main breaker. Verify incoming voltage at the timer’s line terminals with a multimeter. Should match your service (120 VAC or 230 VAC). Inspect the breaker and wiring for loose connections or burn marks.
Test the timer motor: With power on and the timer set to “Manual On,” listen for motor operation. If silent, check for 120 VAC at the motor leads.
Inspect switch contacts: Turn power off and open the housing. Examine contacts for pitting, arcing, or welding shut. Manually operate the cam or switch to see if the contacts separate cleanly.
Check wiring and connections: Ensure line and load conductors are correctly placed on the terminal block. Tighten all screws to the manufacturer-recommended torque.
Diagnose digital timer boards: Look for error codes on the display (e.g., “E3” for voltage anomaly). Reset the timer (power-cycle or reset button).
Verify battery backup voltage (if applicable) and replace if low.
Simulate a cycle: Program a short on/off interval (e.g., on in 1 minute, off in 2 minutes). Observe whether the timer follows the schedule accurately over several cycles. Note any delays, skipped events, or misalignment of the cam/dial.
Document findings: Record voltages, contact conditions, and any error messages. This helps determine whether to repair individual parts or replace the entire unit.
By following this structured approach, you can pinpoint the failing component, be it a motor, contact set, circuit board, or wiring, without unnecessary part swaps.
How to Repair or Replace Faulty Intermatic Timer Parts
Once you’ve identified the culprit, decide between repairing vs. full replacement:
Choosing the right replacement parts: Intermatic Catalog Number (e.g., T104, TD520, ET1153): Matches voltage, phases, and number of circuits.
Timer motor kits: Available for common mechanical models; usually include motor, drive gear, and mounting hardware.
Contact replacement kits: Precision-rated for inductive motor loads; often sold as contact blocks or assemblies.
Gaskets and seals: Model-specific o-rings and gaskets to restore weatherproofing.
Digital control boards: Swap out modules for newer, more reliable electronics.
Step-by-step replacement procedure
Power down safely: Switch off the pool equipment breaker and lock/tag it out. Confirm zero voltage with a multimeter.
Remove the timer from its enclosure: Loosen mounting screws; carefully pull the unit forward without stressing wires.
Replace the faulty part
Motor replacement: Disconnect motor leads, remove mounting screws, install the new motor, and affix it properly.
Contacts: Remove the entire contact block, install the new block ensuring proper alignment, and secure it.
Circuit board (Digital): Unplug ribbon cables or connectors, transfer the programming battery if needed, and plug in the new board.
Reassemble and reseat gaskets
Clean mating surfaces, install a new gasket, and torque the housing screws evenly.
Re-energize the breaker and program a test cycle.
Observe startup, runtime, and shutdown events for smooth operation.
How to Choose the Right Pool Pump Fittings
Preventive Maintenance Tips for Pool Timers
Routine maintenance goes a long way toward extending the life of your pool timer and avoiding unexpected downtime.
Regular inspection: Every 3–6 months, visually inspect for moisture, corrosion, or dirt buildup. Listen for unusual noises when the timer motor advances.
Clean contacts and gears: With power off, remove dust and debris using a soft brush. Lightly lubricate moving parts with manufacturer-approved grease (avoid overapplication).
Test battery backup: Replace the backup battery annually to preserve programming throughout outages.
Verify and recalibrate settings: Check that on/off trippers align correctly on mechanical dials. For digital timers, confirm daylight-saving adjustments and multiple event programming.
Secure wiring and connections: Re-torque terminal screws and tighten strain reliefs to prevent loose wires. Replace any degraded conduit or cable glands that allow moisture ingress.
Exercise the timer: Once a month, manually initiate a cycle to confirm reliable operation under load.
When to Call a Professional for Pool Timer Troubleshooting
While many timer issues are within the reach of a competent DIYer, some situations warrant professional intervention:
Repeated failures after repairs: Multiple part replacements fail to resolve the issue, suggesting deeper wiring or pump motor problems.
Complex multi-circuit setups: Timers controlling lights, heaters, or multiple pumps may require advanced diagnostics and load analysis.
Significant electrical work needed: Upgrading service panels, rewiring motor circuits, or adding surge protection should be handled by a licensed electrician.
Diagnostic equipment requirement: Professionals often use thermal imaging, clamp meters, and advanced circuit analyzers to pinpoint elusive faults.
Warranty or code compliance: For new installations or upgrades, adherence to local electrical and pool codes can necessitate certified workmanship.
Engaging a professional ensures not only that the problem is correctly identified and repaired but also that your pool system meets safety and performance standards. It can be a small investment to avoid larger equipment damage or code violations later on.
Maintaining a functional Intermatic pool timer is essential for optimal pool management. By understanding the components, recognizing common signs of malfunction, and following systematic troubleshooting steps, you can effectively address issues before they escalate. Regular preventive maintenance not only prolongs the life of your timer but also ensures that your pool operates efficiently and maintains clean water. Ultimately, being informed and proactive in managing your pool timer allows you to enjoy your swimming oasis without worry. At USA Pool Shop, you can find a wide range of Intermatic products, including pool timers and control accessories, to enhance the efficiency and convenience of pool management.
FAQs
How long do Intermatic pool timers typically last?
Intermatic pool timers generally last 7–10 years with proper maintenance. However, individual pool timer parts like switches and gears may require earlier replacement.
Can I upgrade my old Intermatic pool timer to a digital version?
Yes, many older models can be upgraded with digital Intermatic pool timer replacement parts, offering better accuracy, programmable cycles, and energy efficiency.


Validate your login