Proper water circulation is essential for a healthy swimming pool, and pool pipe valves play a vital role in controlling water flow, pressure, and direction. When a valve fails, it can quickly lead to leaks, poor circulation, air buildup, or damage to pool equipment.
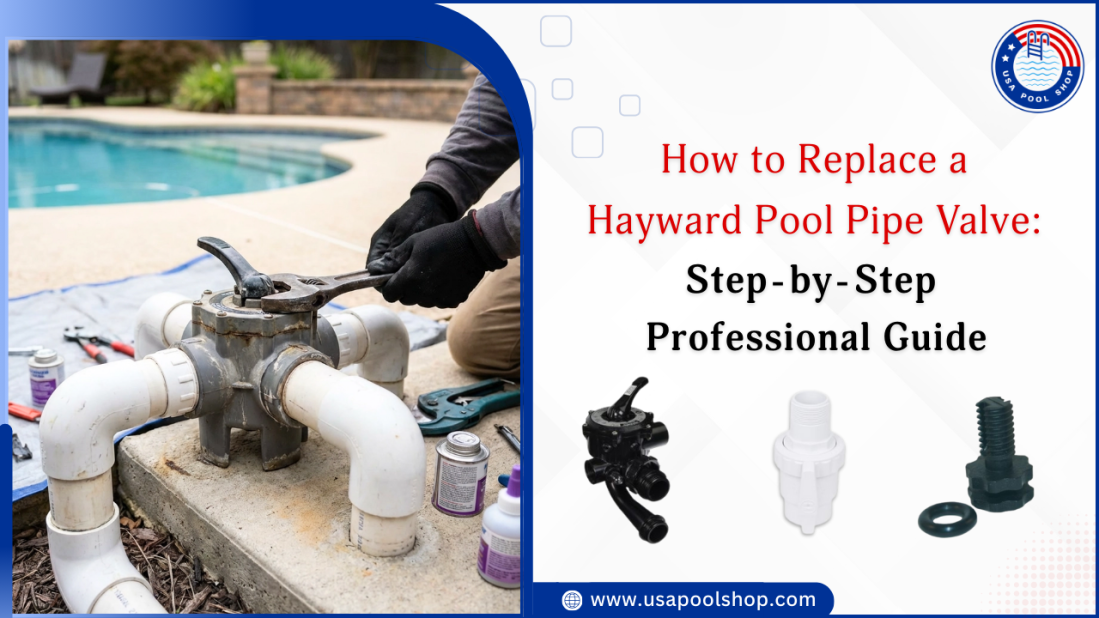
The Hayward Pool Pipe Valve is commonly used in both residential and commercial pools for its durability, but continuous exposure to water pressure, chemicals, and weather conditions, it may eventually require replacement. This guide covers everything you need to know about pool pipe valve replacement, helping you identify issues to post-installation testing, ensuring your pool system operates efficiently and leak-free.
Understanding Hayward Pool Pipe Valves and When Replacement Is Needed
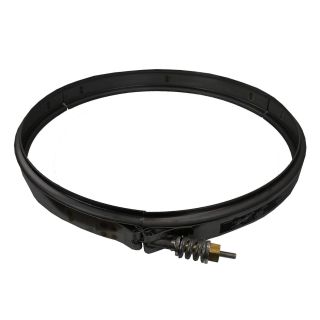
A Hayward pool pipe valve is a flow-control component used in a pool’s plumbing system. It regulates how water moves between the pump, filter, heater, chlorinator, and return lines, helping maintain proper circulation and system efficiency.
These valves allow pool owners and technicians to direct water flow, isolate equipment during maintenance, and prevent backflow that could damage equipment or disrupt water chemistry.
Hayward offers several valve types, including ball valves, check valves, diverter valves, and multiport valves, each designed to provide reliable and controlled water flow within the pool system.
Common Signs a Pool Pipe Valve Needs Replacement
Over time, even high-quality valves can wear out due to constant water pressure, chemical exposure, temperature changes, and regular operation. Replacement becomes necessary when the valve can no longer seal or operate correctly.
Common signs include:
Persistent leaks around the valve body or connection points
Cracks in the valve housing caused by aging or freeze damage
Stiff, jammed, or broken valve handles
Water bypasses the valve even when fully closed
Poor circulation despite correct Hayward pool pipe valve settings
If adjusting the Hayward pool pipe valve position no longer restores normal flow, internal components are likely worn. In such cases, replacing the valve is the best way to restore efficiency and prevent further plumbing or equipment issues.
Explore how to replace and maintain swimming pool sand filter parts to improve filtration performance and extend equipment life.
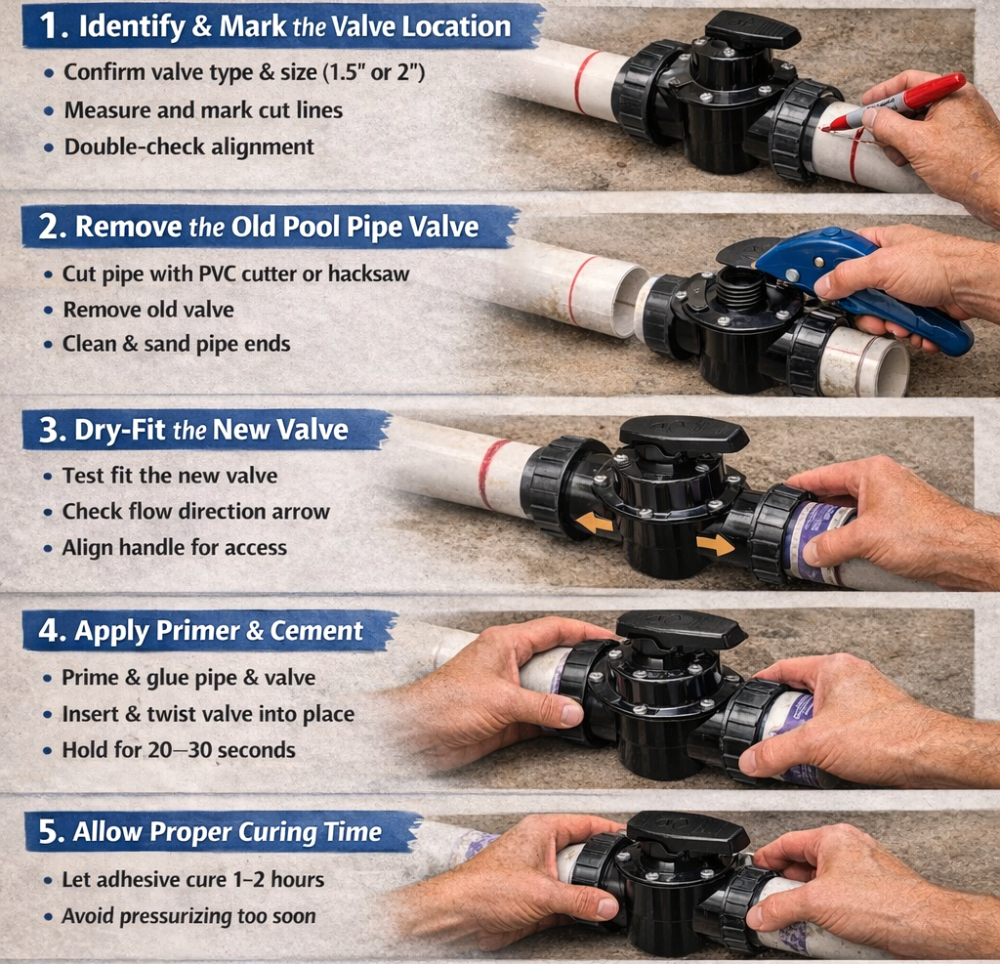
Tools, Materials, and Preparation Checklist
Replacing a pool valve correctly requires proper preparation and the right equipment. Before starting yourPool Pipe Valve replacement, gather the necessary tools and materials to ensure a safe and professional installation.
Tools You’ll Need
PVC pipe cutter or fine-tooth hacksaw: For clean and accurate cuts in pool plumbing pipes
Adjustable wrench or channel-lock pliers: To loosen or tighten fittings and threaded connections
Flathead screwdriver: Useful for minor adjustments and component removal
Measuring tape and permanent marker: For precise measurements and marking cut points
Clean rags: To wipe pipe ends and remove excess primer or cement
Materials Required
Correct-size Hayward Pool Pipe Valve: Ensures proper fit and reliable flow control
PVC primer and PVC cement: Essential for strong, leak-free pipe connections
Teflon tape: Used on threaded connections to prevent leaks
Replacement couplings or unions (if required): Helpful when adjusting pipe length or alignment
Optional silicone-based lubricant: For maintaining O-rings and smooth valve operation
Safety and System Preparation
Turn off electrical power to the pool pump at the breaker
Relieve system pressure by opening the filter’s air relief valve
Drain the plumbing line and ensure all pipes are completely dry before cutting or gluing
Important Safety Note: Never attempt Pool Pipe Valve replacement while the system is pressurized, as this can cause serious injury and damage to pool equipment.
How to Replace a Hayward Pool Pipe Valve
This step-by-step process applies to most inline Hayward valves used in pool plumbing systems.
Explore an easy, step-by-step guide on cleaning your Sta-Rite pool filter to keep your pool water clear and equipment running efficiently.
Hayward Pool Pipe Valve Post-Installation Testing and Leak Prevention
Proper testing and preventive care after installation are essential for long-term, leak-free performance. Checking connections, monitoring fluid levels, and watching for early signs of wear help maintain safe, efficient operation and prevent unexpected issues.
System Restart and Testing
Once the adhesive curing period is complete, follow these steps to restart and test the system:
Restore electrical power to the pool pump.
Start the pump slowly to allow gradual pressurization.
Inspect the valve and all surrounding joints for signs of leaks.
Cycle through different Hayward pool pipe valve settings to confirm smooth operation and proper flow control.
The valve handle should rotate easily without resistance, dripping, or abnormal noise.
Leak Prevention Best Practices
To minimize future leaks and extend valve lifespan, follow these best practices:
Use unions where possible to simplify future maintenance or replacement.
Avoid overtightening threaded fittings, which can crack valve bodies.
Keep valves clean and free of debris buildup.
Label valves for easy identification and correct operation.
Winterize plumbing lines to prevent freeze-related damage.
Regular inspection of pool pipe valves during routine maintenance helps identify minor issues before they become costly repairs.
When to Call a Professional
While many homeowners can perform basic valve replacement, professional help is recommended if:
The valve is underground or encased in concrete
Multiple valves require replacement
Pipes are brittle or severely damaged
The system includes complex automation
Professional installation ensures correct Hayward pool pipe valve position and long-term reliability.
Summary: Ensure Safe, Efficient, and Leak-Free Pool Plumbing
Replacing a Hayward pool pipe valve is a critical maintenance task that directly impacts your pool’s circulation, efficiency, and equipment lifespan. By understanding valve function, preparing correctly, and following a step-by-step professional process, you can complete a successful pool pipe valve replacement with confidence.
Timely replacement prevents leaks, protects pumps and filters, and ensures optimal water flow. Whether you’re a DIY pool owner or a maintenance professional, proper installation and testing will keep your pool system operating safely and efficiently for years to come.
For a smooth and reliable valve replacement, shop at USA Pool Shop for genuine Hayward pool pipe valves, fittings, O-rings, and essential pool components. Quality parts help ensure proper installation, leak-free operation, and long-lasting pool performance.
FAQs
Can you replace a hydrostatic valve without draining the pool?
Usually no. The water level must be lowered below the valve to prevent groundwater pressure, so partial draining is required.
How to tell if a multiport valve is bad?
Signs include water leaking from the waste line, a stiff handle, poor filtration, or water bypassing settings. If a new spider gasket doesn’t help, replacement may be needed.
How to remove a Hayward air relief valve?
Turn off the pump, release pressure, then unscrew the valve by hand or with a wrench and check the O-ring before reinstalling or replacing.
How do I know if my pool check valve is bad?
Backflow when the pump is off, air in the system, loss of prime, or spa water draining into the pool usually indicate a failing check valve.


Validate your login